Paychex to AD (Entra ID) Integration: Benefits and Steps
Chad Burggraf8 min read

If your company uses Paychex Flex, you can integrate it with on-premises Microsoft Active Directory (AD) or cloud-based Azure Active Directory (now known as Entra ID).
This connection between your HR software and identity and access management solution lets you manage employee data more efficiently.
It can significantly reduce the workload for your IT and HR departments. At the same time, it provides a smoother onboarding and offboarding experience for your employees.
In this article, we’ll cover the other benefits of integration. We’ll also discuss the steps and requirements for connecting Paychex to Azure AD. But first, we’ll help you understand how this connection works.
Understanding Paychex to AD Integration
Paychex to AD integration allows your HR app to communicate directly with Microsoft Azure Active Directory (Entra ID) or traditional and on-prem AD. This connection ensures reliable and consistent data sync between the two platforms.
For IT leaders, this means less time manually provisioning users in AD and more time focusing on strategic initiatives. Meanwhile, new employees can take advantage of correct access to company systems from day one.
The integration works by obtaining API keys from Paychex Flex HR software. Once API requests are authenticated in Azure AD (Entra ID), you can automatically share and update employee details between the two systems.
Common Use Cases of Integration
Below are some practical applications of integration for companies:
- Single sign-on (SSO): Employees can access multiple systems with one login credential.
- Onboarding and offboarding automation: New hires in Paychex are instantly added to AD, and departing employees are immediately deactivated.
- Automating role assignments: Entra ID or Azure AD automatically updates user permissions when job roles change in Paychex.
- Identity protection: IT teams can use Entra ID to track user activities and role changes from Paychex. They can restrict access when conditions change, such as using a different network to log in.

Why Should You Integrate Paychex with Azure AD?
After discussing how Paychex to AD integration works, it’s time to learn its importance for your organization. Below are the top reasons you should consider connecting Paychex Flex to Active Directory (Entra ID):
Improve Employee Experience
When you link Paychex to AD, you can enable powerful capabilities like single sign-on.
SSO provides a smoother experience for employees because they only need to remember one set of credentials. It reduces the need to manage multiple passwords.
New hires can access various business applications hosted in Active Directory by logging into their organizational account.
They can skip signing into Paychex every time they’re connected to your company’s network, which means they can immediately return to their work and finish tasks more quickly.
Centralize User Management
Azure AD allows you to centralize user management by pulling employee data directly from Paychex Flex. This simplifies the process of controlling access rights across multiple applications.
By integrating these two systems, you gain increased visibility over who can access what tools. This makes it easier to audit and manage user roles.
At the same time, it can minimize the risk of over-provisioning or missing deprovisioning steps when someone leaves the company.
Simplify Onboarding and Offboarding Workflows
Integration can streamline IT onboarding and offboarding processes through automation.
When an employee joins or leaves the company, Paychex automatically updates Azure AD. Meanwhile, this directory service instantly creates an account, grants the correct access to systems, or revokes permissions based on Paychex data.
Automated workflows can reduce the need for manual oversight. They allow IT teams to save valuable time and resources.
Maintain Data Security
Another benefit of connecting Paychex Flex to AD is the ability to maintain data security across your organization.
The integration allows you to implement consistent security policies across both systems, such as multi-factor authentication (MFA) and conditional access.
It can also update user roles and permission rights in real time, significantly reducing the risk of unauthorized access to sensitive company data and helping you achieve and maintain cybersecurity compliance.
Increase IT Productivity
Since the integration automates routine user management tasks, it can reduce the workload of your IT team and boost productivity.
IT professionals no longer need to provision, deprovision, or keep up with lifecycle updates manually. Instead, they can focus on more strategic projects and provide the best services to clients and end-users.
Basic Requirements for Paychex to AD Integration
Now that you understand the importance of integration, you’re probably excited to start. But before you initiate the technical setup, you must prepare key requirements:
- Paychex Flex: You’ll need a client subscription and administrator permissions to obtain API credentials.
- Microsoft Entra ID (Azure AD): You should have an Entra ID account with a Cloud Application Administrator or Application Administrator role.
- Sandbox environment: This allows you to test the integration before full deployment.
- Technical skills: Your IT team must learn how to manage API configurations and handle troubleshooting.
- Integration tool: You can invest in a reliable third-party connector tool to sync employee data from Paychex to AD.

How to Connect Paychex Flex to Azure AD (Entra ID)?
Follow these seven simple steps to establish a strong and secure connection between Paychex and AD.
1. Set Up API Access in Paychex Flex
Paychex Flex supports out-of-the-box integration with Microsoft Azure AD.
However, this built-in connector only works for single sign-on. If you want to apply other use cases, you must configure API access in the HR software.
To do this, you should log in to your Paychex account with admin permissions. Navigate to the API settings and request credentials, which will allow Paychex to communicate with Azure AD.
After obtaining API access, you must store the API key securely. Do not share it with others to protect your company’s systems.
You can work closely with Paychex technical support for proper API configuration. You should involve both HR and IT departments during this process. This ensures that API settings align with your organizational needs.
2. Prepare Your Azure AD (Entra ID) Environment
The next step involves setting up your Azure Active Directory account. You should log into the Microsoft Entra admin center and add an enterprise application to your tenant.
To do this, navigate to Identity > Applications > Enterprise applications > All applications. You should select New Application to open the Browse Microsoft Entra Gallery window.
From there, you can find Paychex Flex among the compatible apps. Click it and add a name to recognize the application. For example, you can enter Paychex Flex HR. After typing the name, you can select Create to connect to Paychex.
Then, you can assign owners or users who can access enterprise applications from your Azure AD portal. By default, everyone can connect to your systems without being assigned to them.
If you want to change this, you must group users based on their roles, department, or location. For example, only the IT department can become an application owner. HR or marketing teams shouldn’t have access to sensitive IT data.
3. Map User Attributes
Now that Paychex and Azure AD are ready, you can configure the mapping between both systems.
Define which values in Paychex correspond to fields in Azure AD (Entra ID). For example, you can map employee IDs, roles, and department information from the HR platform to their counterparts in the directory service.
4. Establish the Connection
After mapping user attributes, you can now establish the connection between Paychex Flex and Azure AD.
You can use a third-party integration tool to initiate the connection. During this step, the two systems will begin communicating through their APIs.
You must also configure security settings, such as encryption, to protect sensitive data during the transfer.
5. Run Tests in a Sandbox Environment
Before deploying the integration organization-wide, you should test the system in a sandbox environment. This allows you to validate that everything functions correctly without affecting live data.
You can use sample employee information to run through the entire syncing process. If you find any issues, you must immediately address them to avoid mishaps once the integration is live.
6. Finalize the Deployment
After testing, you can deploy the integration across your entire organization.
Involve both HR and IT teams during this deployment and communicate necessary information to your entire workforce. For instance, if single sign-on is part of the deployment, you should let employees know about changes to login procedures. This will minimize confusion and make the transition smoother.
7. Automate Alerts for Ongoing Monitoring
To maintain a strong connection between Paychex Flex and Azure AD, you can set up automated alerts for ongoing monitoring.
These alerts can notify your IT team of syncing issues, data mismatches, or API downtime. They help you catch and resolve problems quickly before they impact business operations.
Best Practices for a Successful Paychex to AD Integration
If you want the integration to last for a long time, you can follow these best practices:
- Train IT team: You should provide ongoing training to keep employees updated on system changes and security protocols.
- Review mapping rules: Regularly check that field mappings between Paychex and AD remain accurate. This prevents data discrepancies as your business evolves.
- Implement strong security measures: You can use encryption, multi-factor authentication, and firewalls to protect sensitive data during transfers.
- Document processes: Maintain detailed documentation of the integration setup, configurations, and any changes made. This simplifies troubleshooting and minimizes the impact of downtime.
- Conduct regular audits: Consider scheduling regular audits of the integration to catch data sync issues early.
- Use automated integration tools: If you have limited IT resources, you can invest in automated integration software to connect Paychex Flex to AD. The vendor can handle all custom data mapping while your team is free to focus on other tasks.
Automate Paychex to AD (Entra ID) Integration with ezOnboard
ezOnboard seamlessly integrates an organization’s HR software (such as Paychex Flex) with traditional, on-prem Active Directory and cloud-based Entra ID (formerly Azure AD). It automatically updates employee details when changes are made in the HR platform. Paycor, Paylocity and Gusto users can find their own walkthroughs in our payroll and HR integration guides.
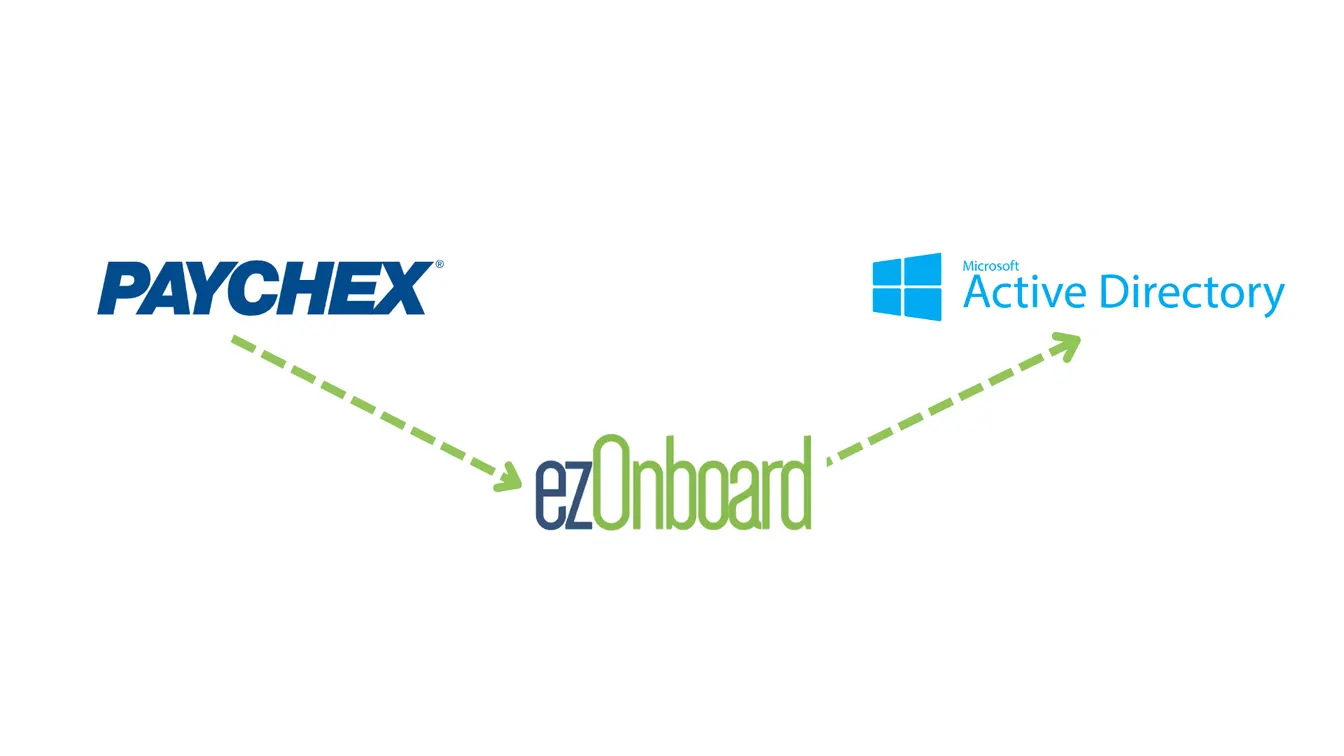
With ezOnboard, you can transform the traditional, often cumbersome, onboarding and offboarding processes into more efficient and error-free operations.
To get started, request a demo or check the ROI calculator to see how much money ezOnboard can save you.
FAQs About Paychex to AD
What is Paychex?
Paychex is an all-in-one platform that helps companies manage payroll services, HR processes, and employee attendance. It also provides tools for handling tax credits and providing customized benefit packages.
What is the purpose of connecting Paychex to Active Directory?
The objective of the integration is to automate employee data transfer between HR and IT systems. It can simplify user management processes like onboarding and offboarding. It can also save businesses valuable time and money.
What do you need to prepare for integrating Paychex with AD?
To ensure a smooth integration process, you’ll need admin-level access to both Paychex and Azure AD (Entra ID). You should also have a well-trained team and the right integration tools.